The sections below show plans for the ship’s profile and each deck, along with photographs of some of the highlighted areas.
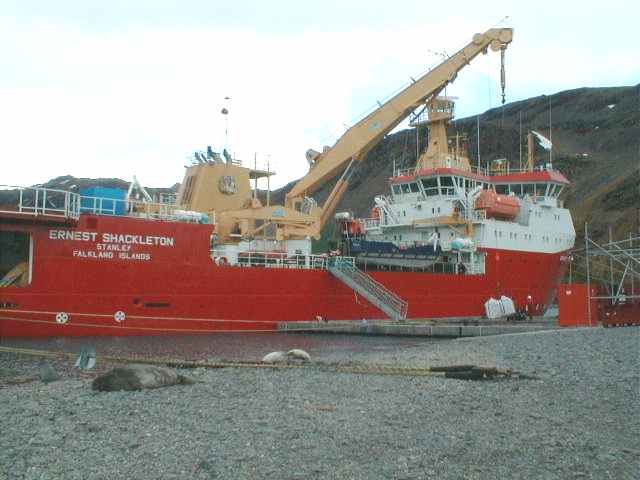
Profile

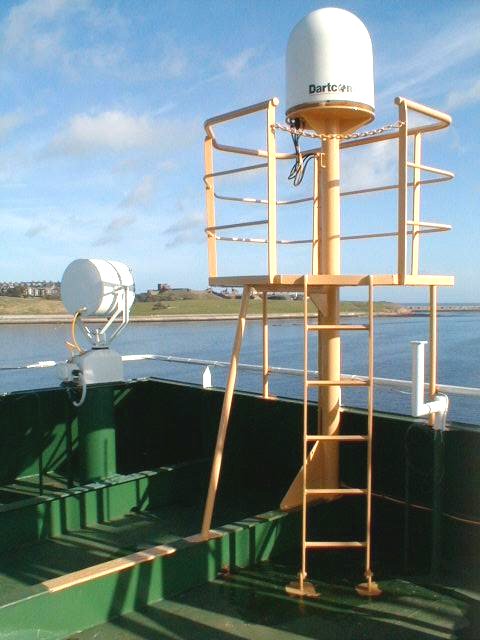
A: Satellite communications
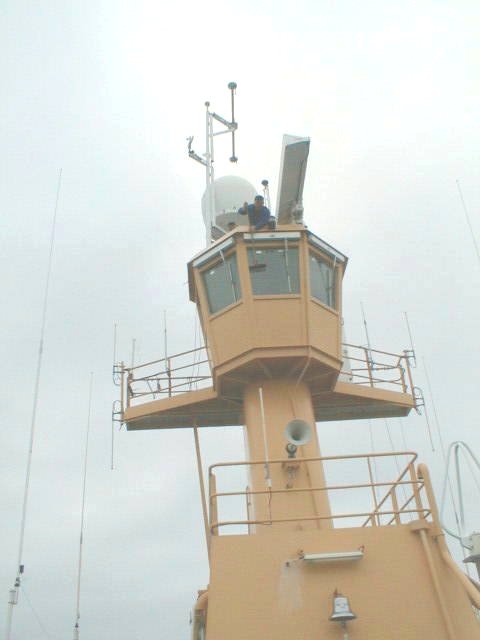
B: Conning tower
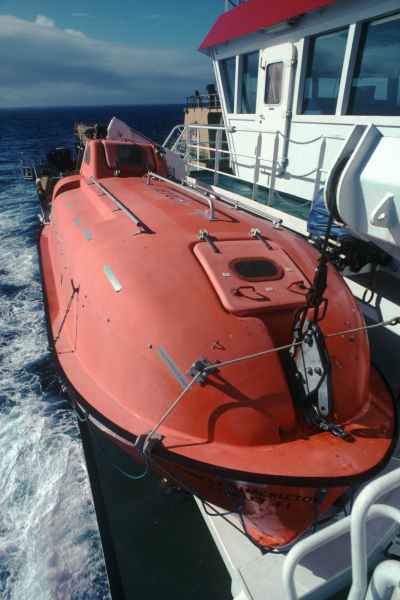
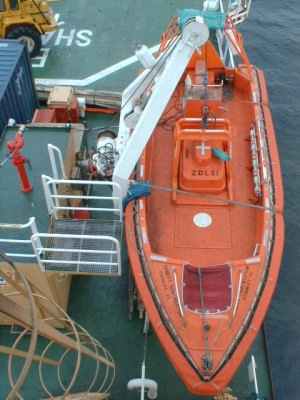
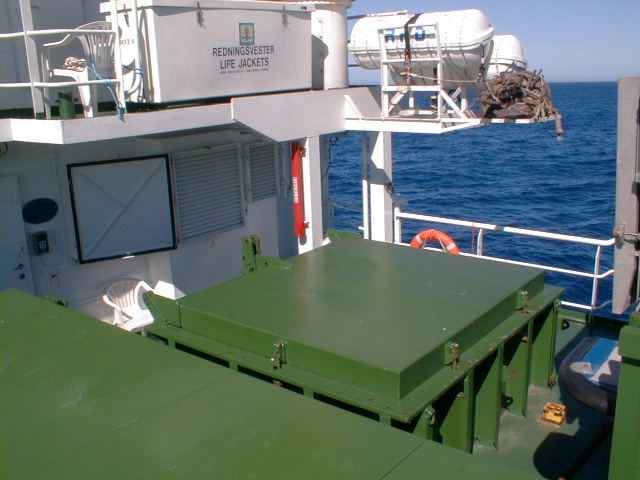
A: Lifeboat
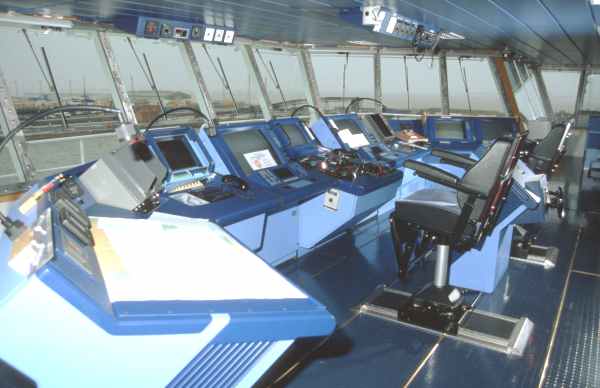
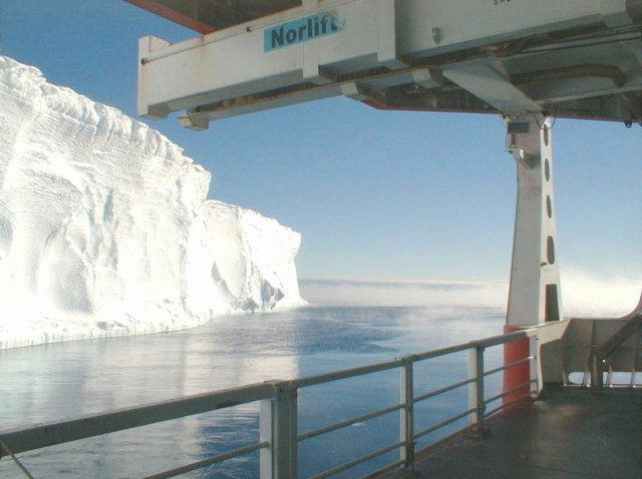
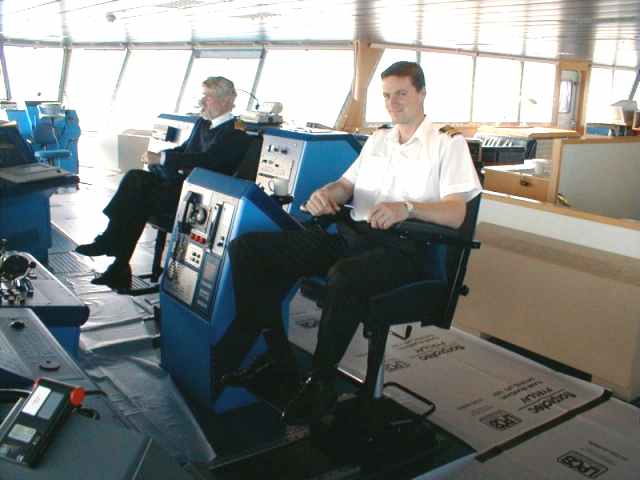
B: Wheelhouse view 1
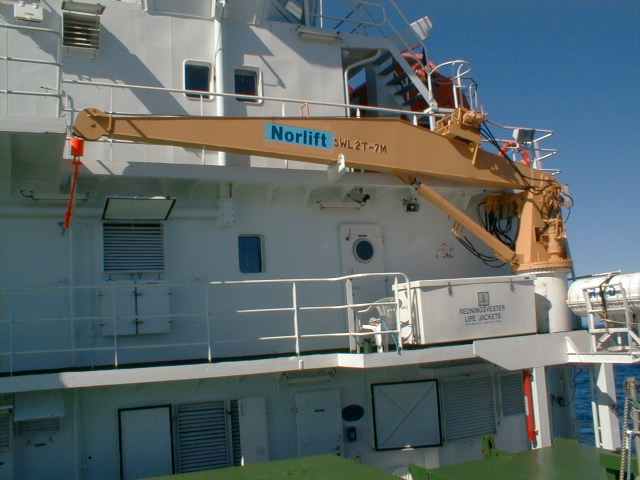
E: Telescopic boom
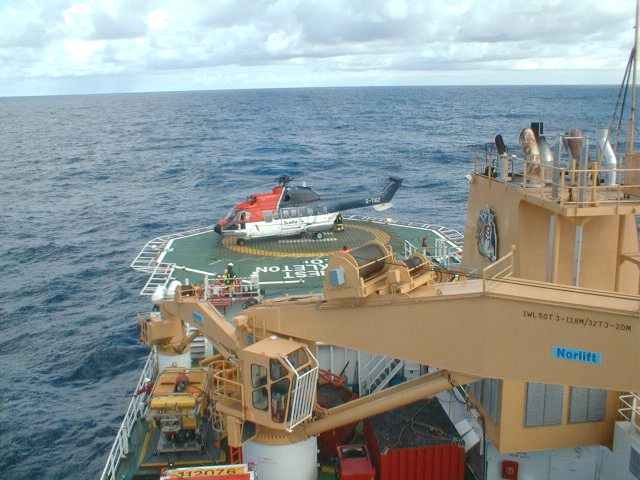
A: Helicopter deck with helicopter
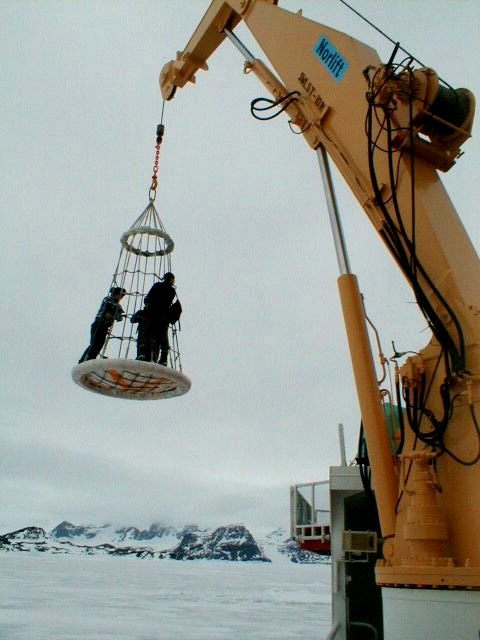
F: Main cargo crane
H: Crane
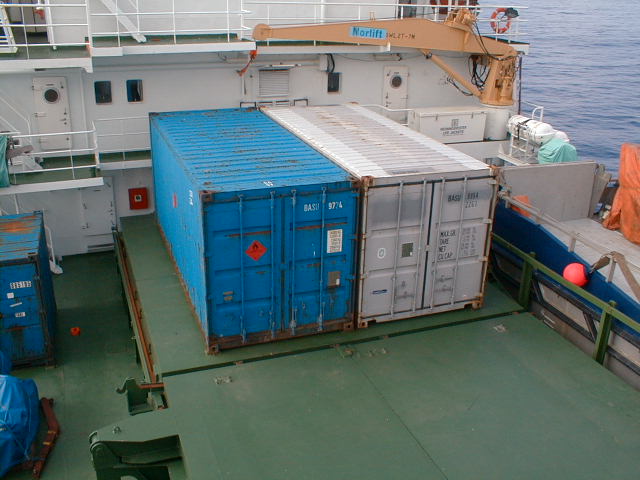
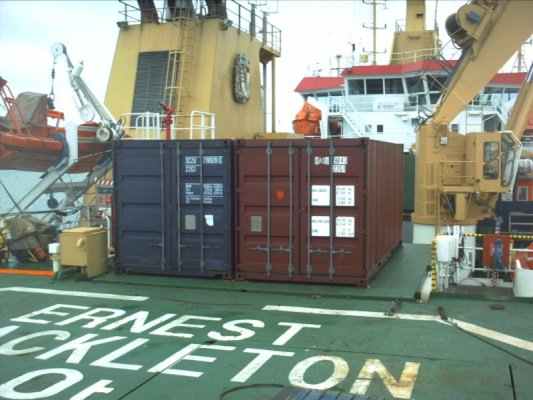
I: Containers
G: Stores crane
K: Tula workboat
L: Propeller & rudder
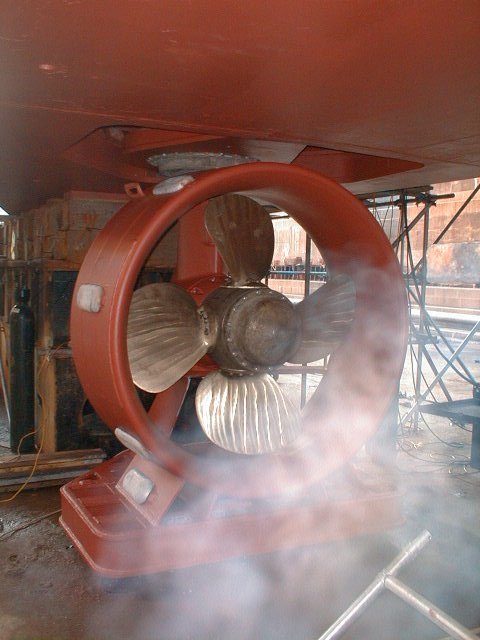
M: Retractable azimuth thruster
3rd bridge deck

A: Lifeboat
B: Wheelhouse view 1
B: Wheelhouse view 2
2nd bridge deck
A: Lifeboat
B: Chief Engineers cabin
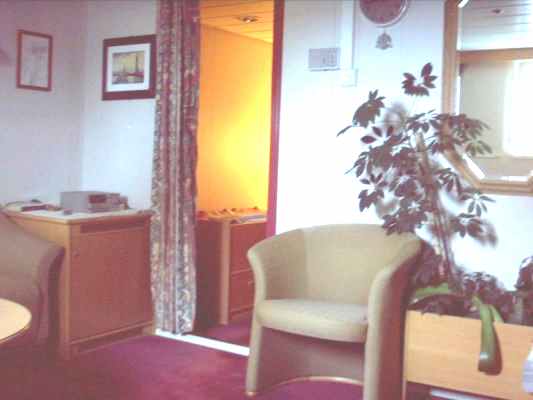
C: Captain’s cabin
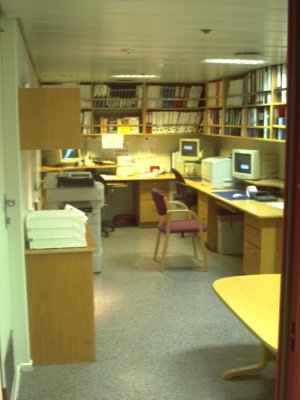
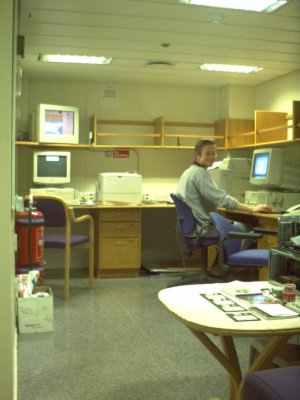
D: Ship office
1st bridge deck
A: Helicopter deck with helicopter
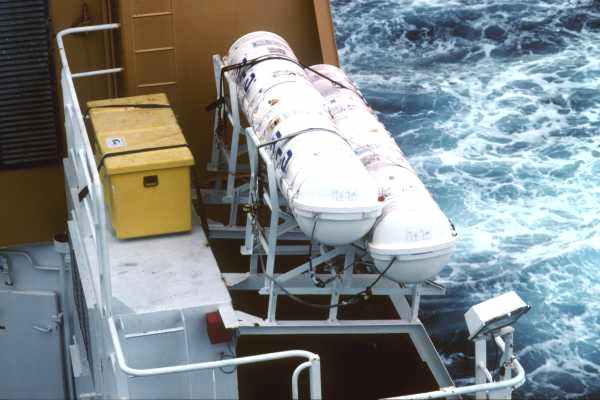
B: Inflatable liferafts
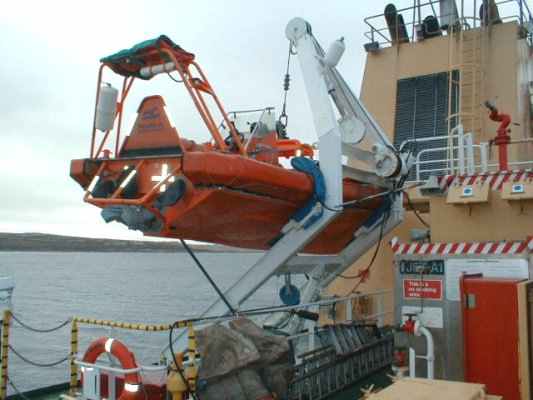
C: Fast rescue craft
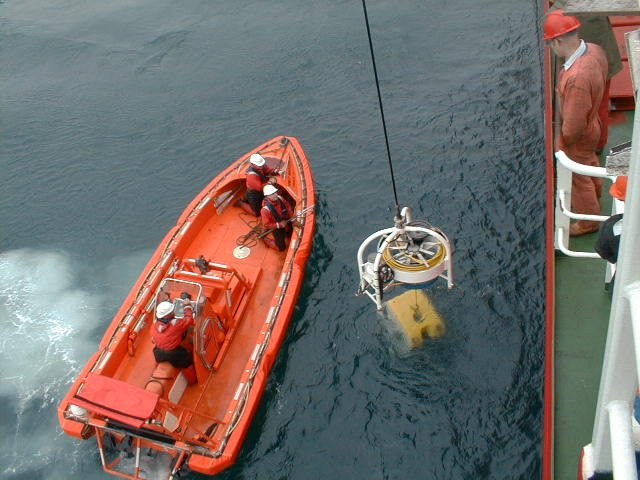
C: Fast rescue craft in water
C: Fast rescue craft on gantry
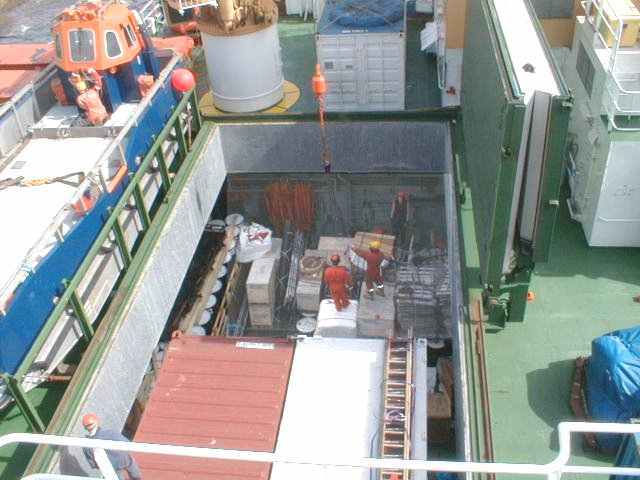
D: Aft Cargo Hatch
E: Crane
F: Main cargo crane
G: Stores crane
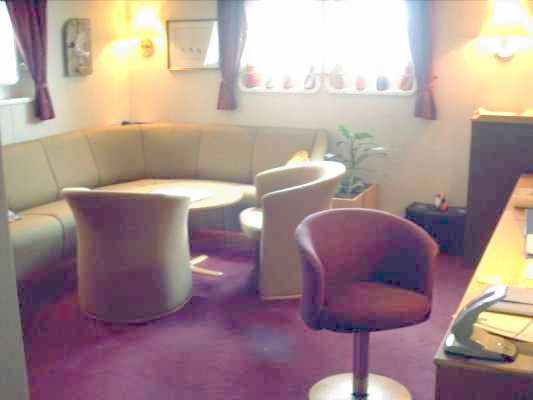
H: Yellow room (quiet room/library)
I: Clients’ office
A deck
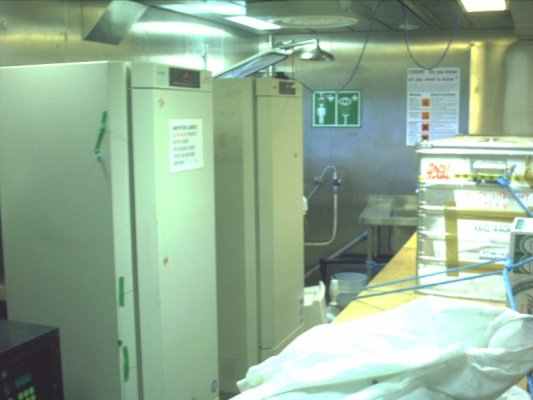
A: Wet lab – view 1
A: Wet lab – view 2
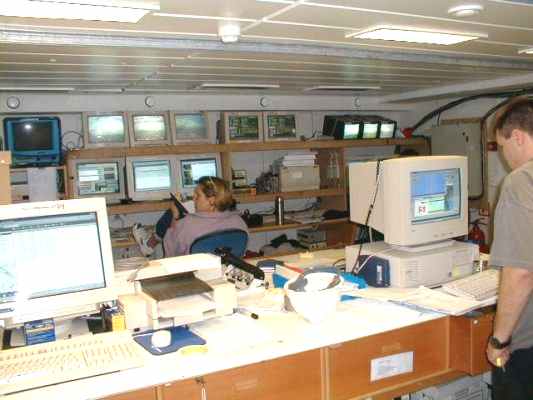
B: Dry lab
C: Bosuns store
D: Forward cargo hatch
E: Stores hatch
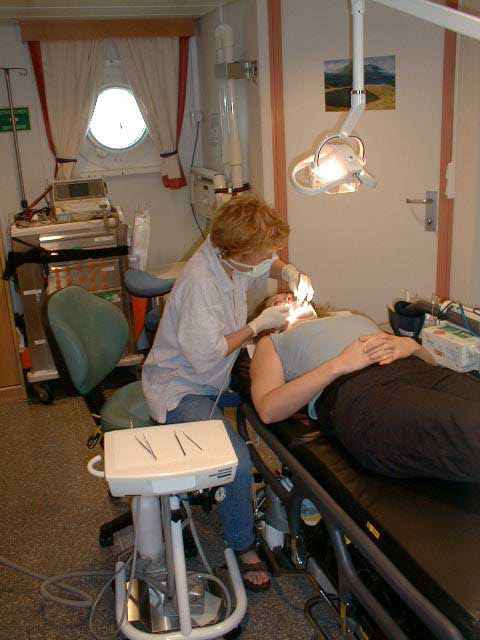
F: Hospital
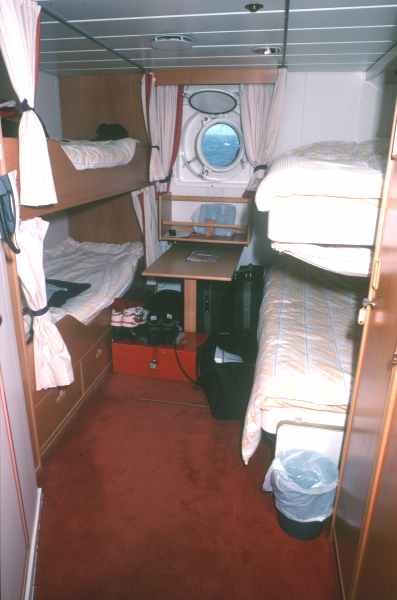
G: Bunk room
B deck
A: Wet lab – view 1
A: Wet lab – view 2
B: Dry lab
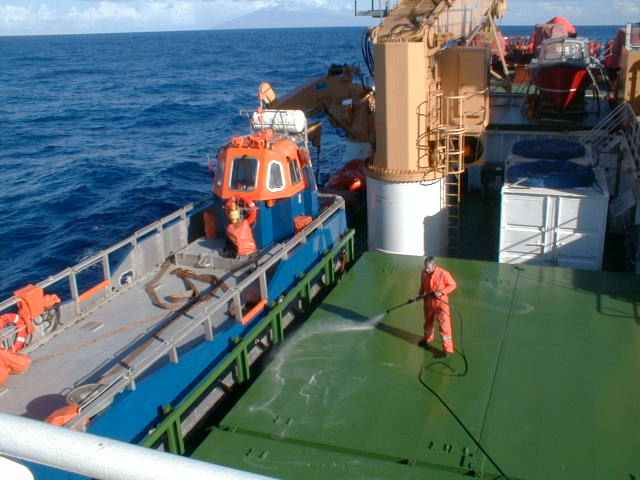
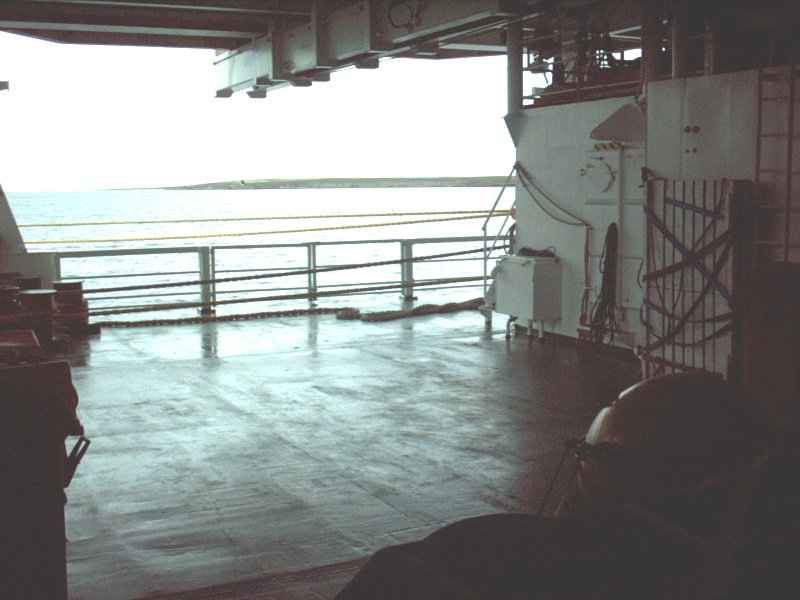
C: Aft deck (view 1)
C: Aft deck (view 2)
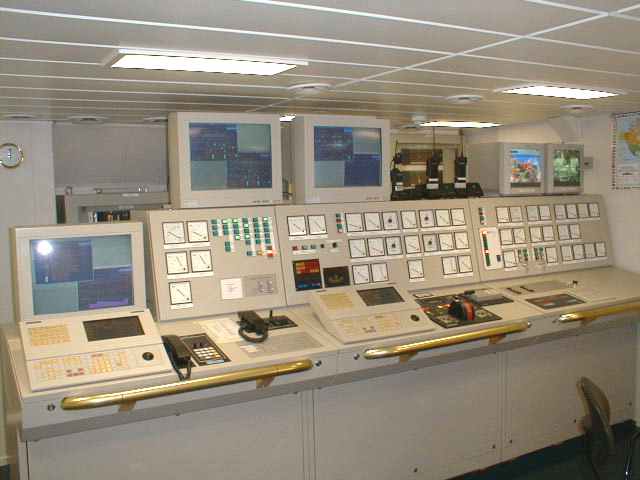
D: Engine control room
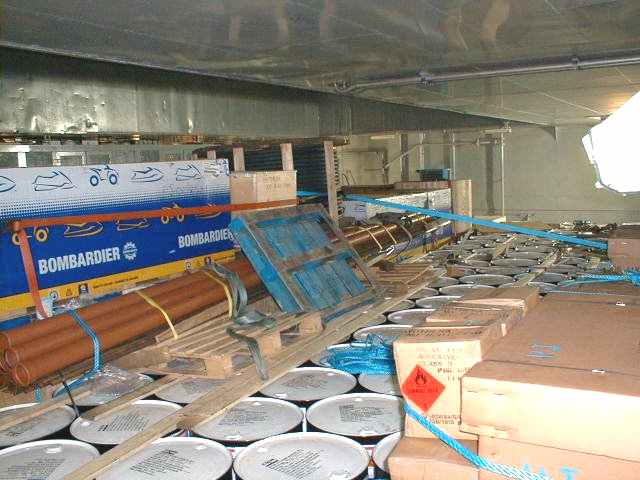
E: Main cargo hold (aft)
F: Main cargo hold (forward)
G: Galley
H: Green room (TV lounge)
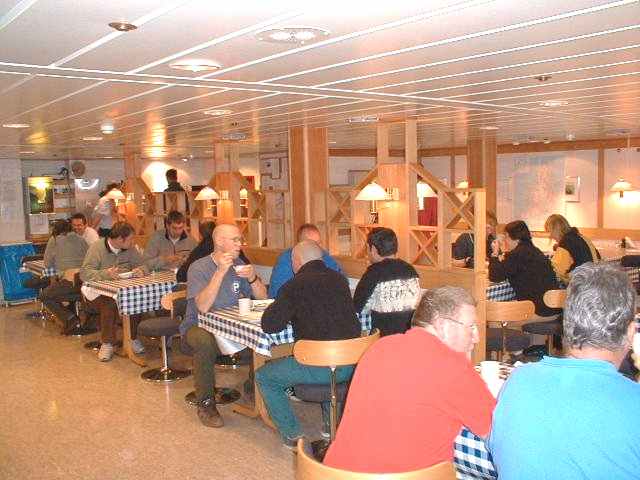
I: Mess room
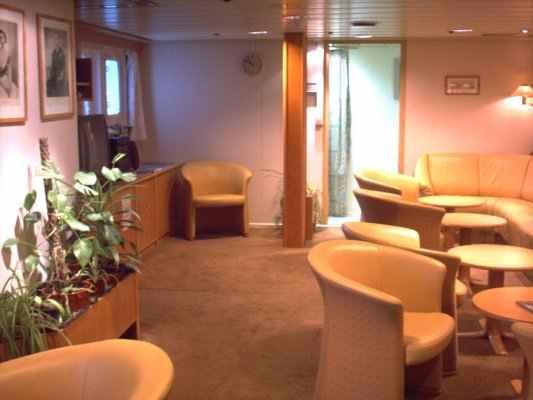
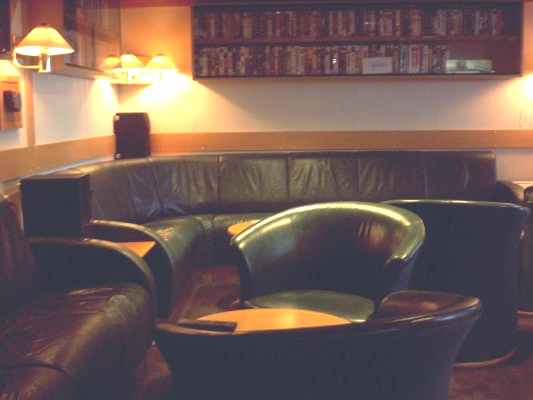
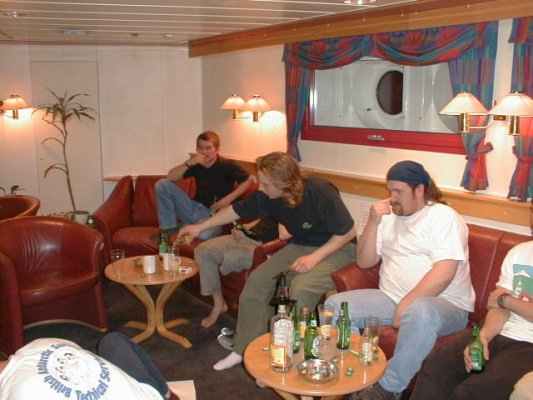
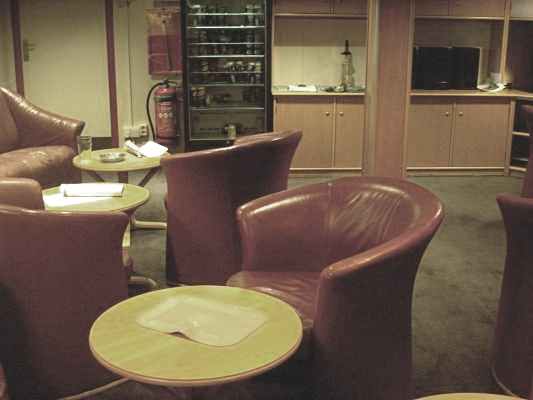
J: Red room (lounge)
K: Red room (lounge)
C deck
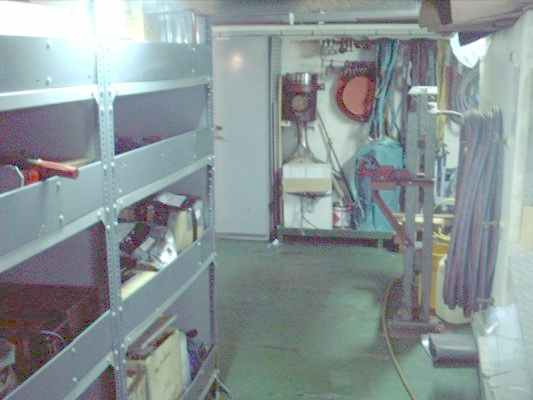
A: Engine store
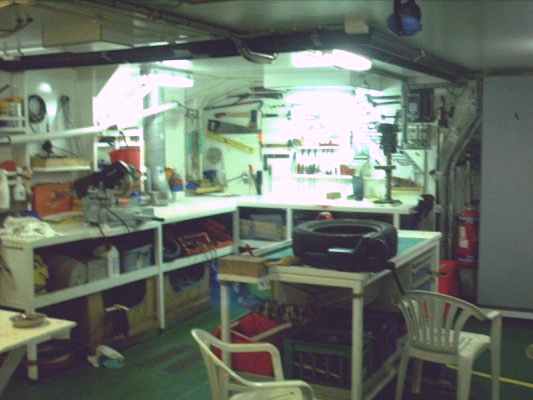
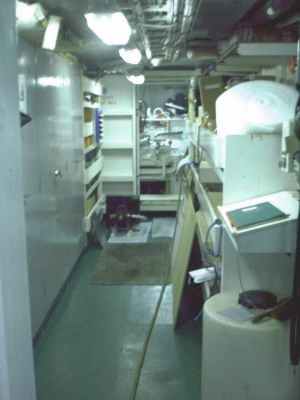
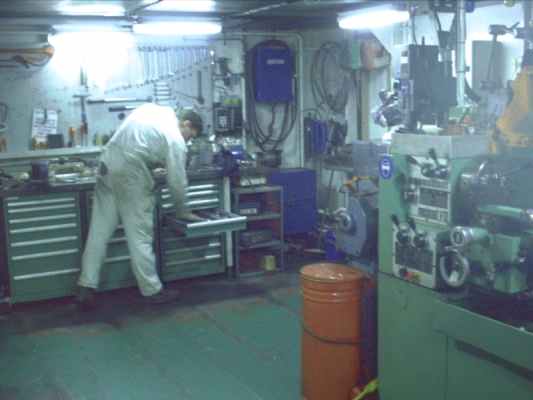
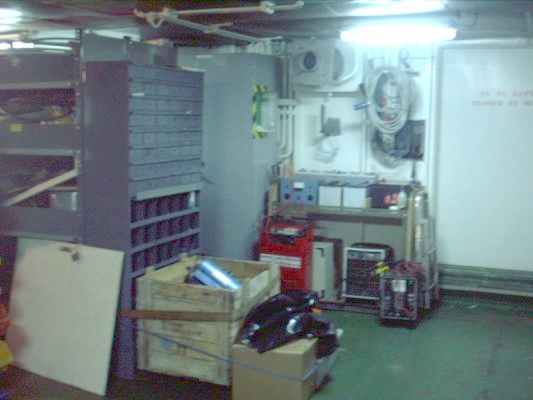
B: Engineers’ workshop
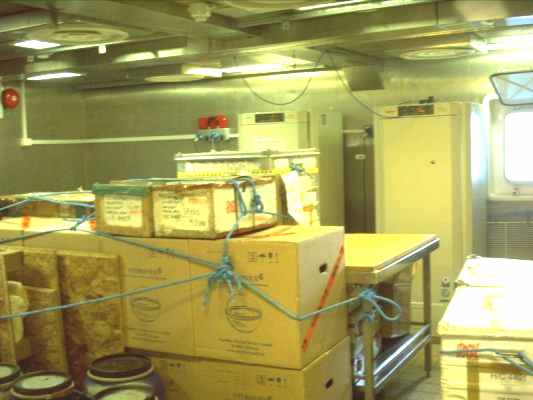
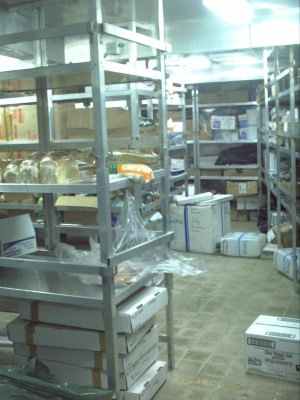
C: Scientific store – view 1
C: Scientific store – view 2
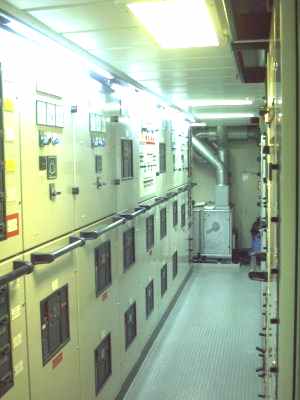
D: Switchboard room
E: Main cargo hold (aft)
F: Main cargo hold (forward)
G: Cold store
H: Laundry
I: Freezing store